

A wedding album is more than just a collection of photos—it’s a storybook filled with memories, emotions, and the essence of your big day. But with hundreds or even thousands of photos to sort through, knowing how to organize a wedding album in a way that feels cohesive and meaningful can be a challenge. A well-structured album should reflect the flow of your wedding day, highlighting key moments while maintaining a natural, visually appealing layout.
In this guide, we’ll take you through a practical, easy-to-follow process to create a wedding album that captures the true essence of your celebration.
Understanding Different Types of Wedding Albums
Before you start organizing your photos, it’s important to choose the right type of wedding album. ArcoAlbum offers a variety of options, each with different layouts and customization possibilities:
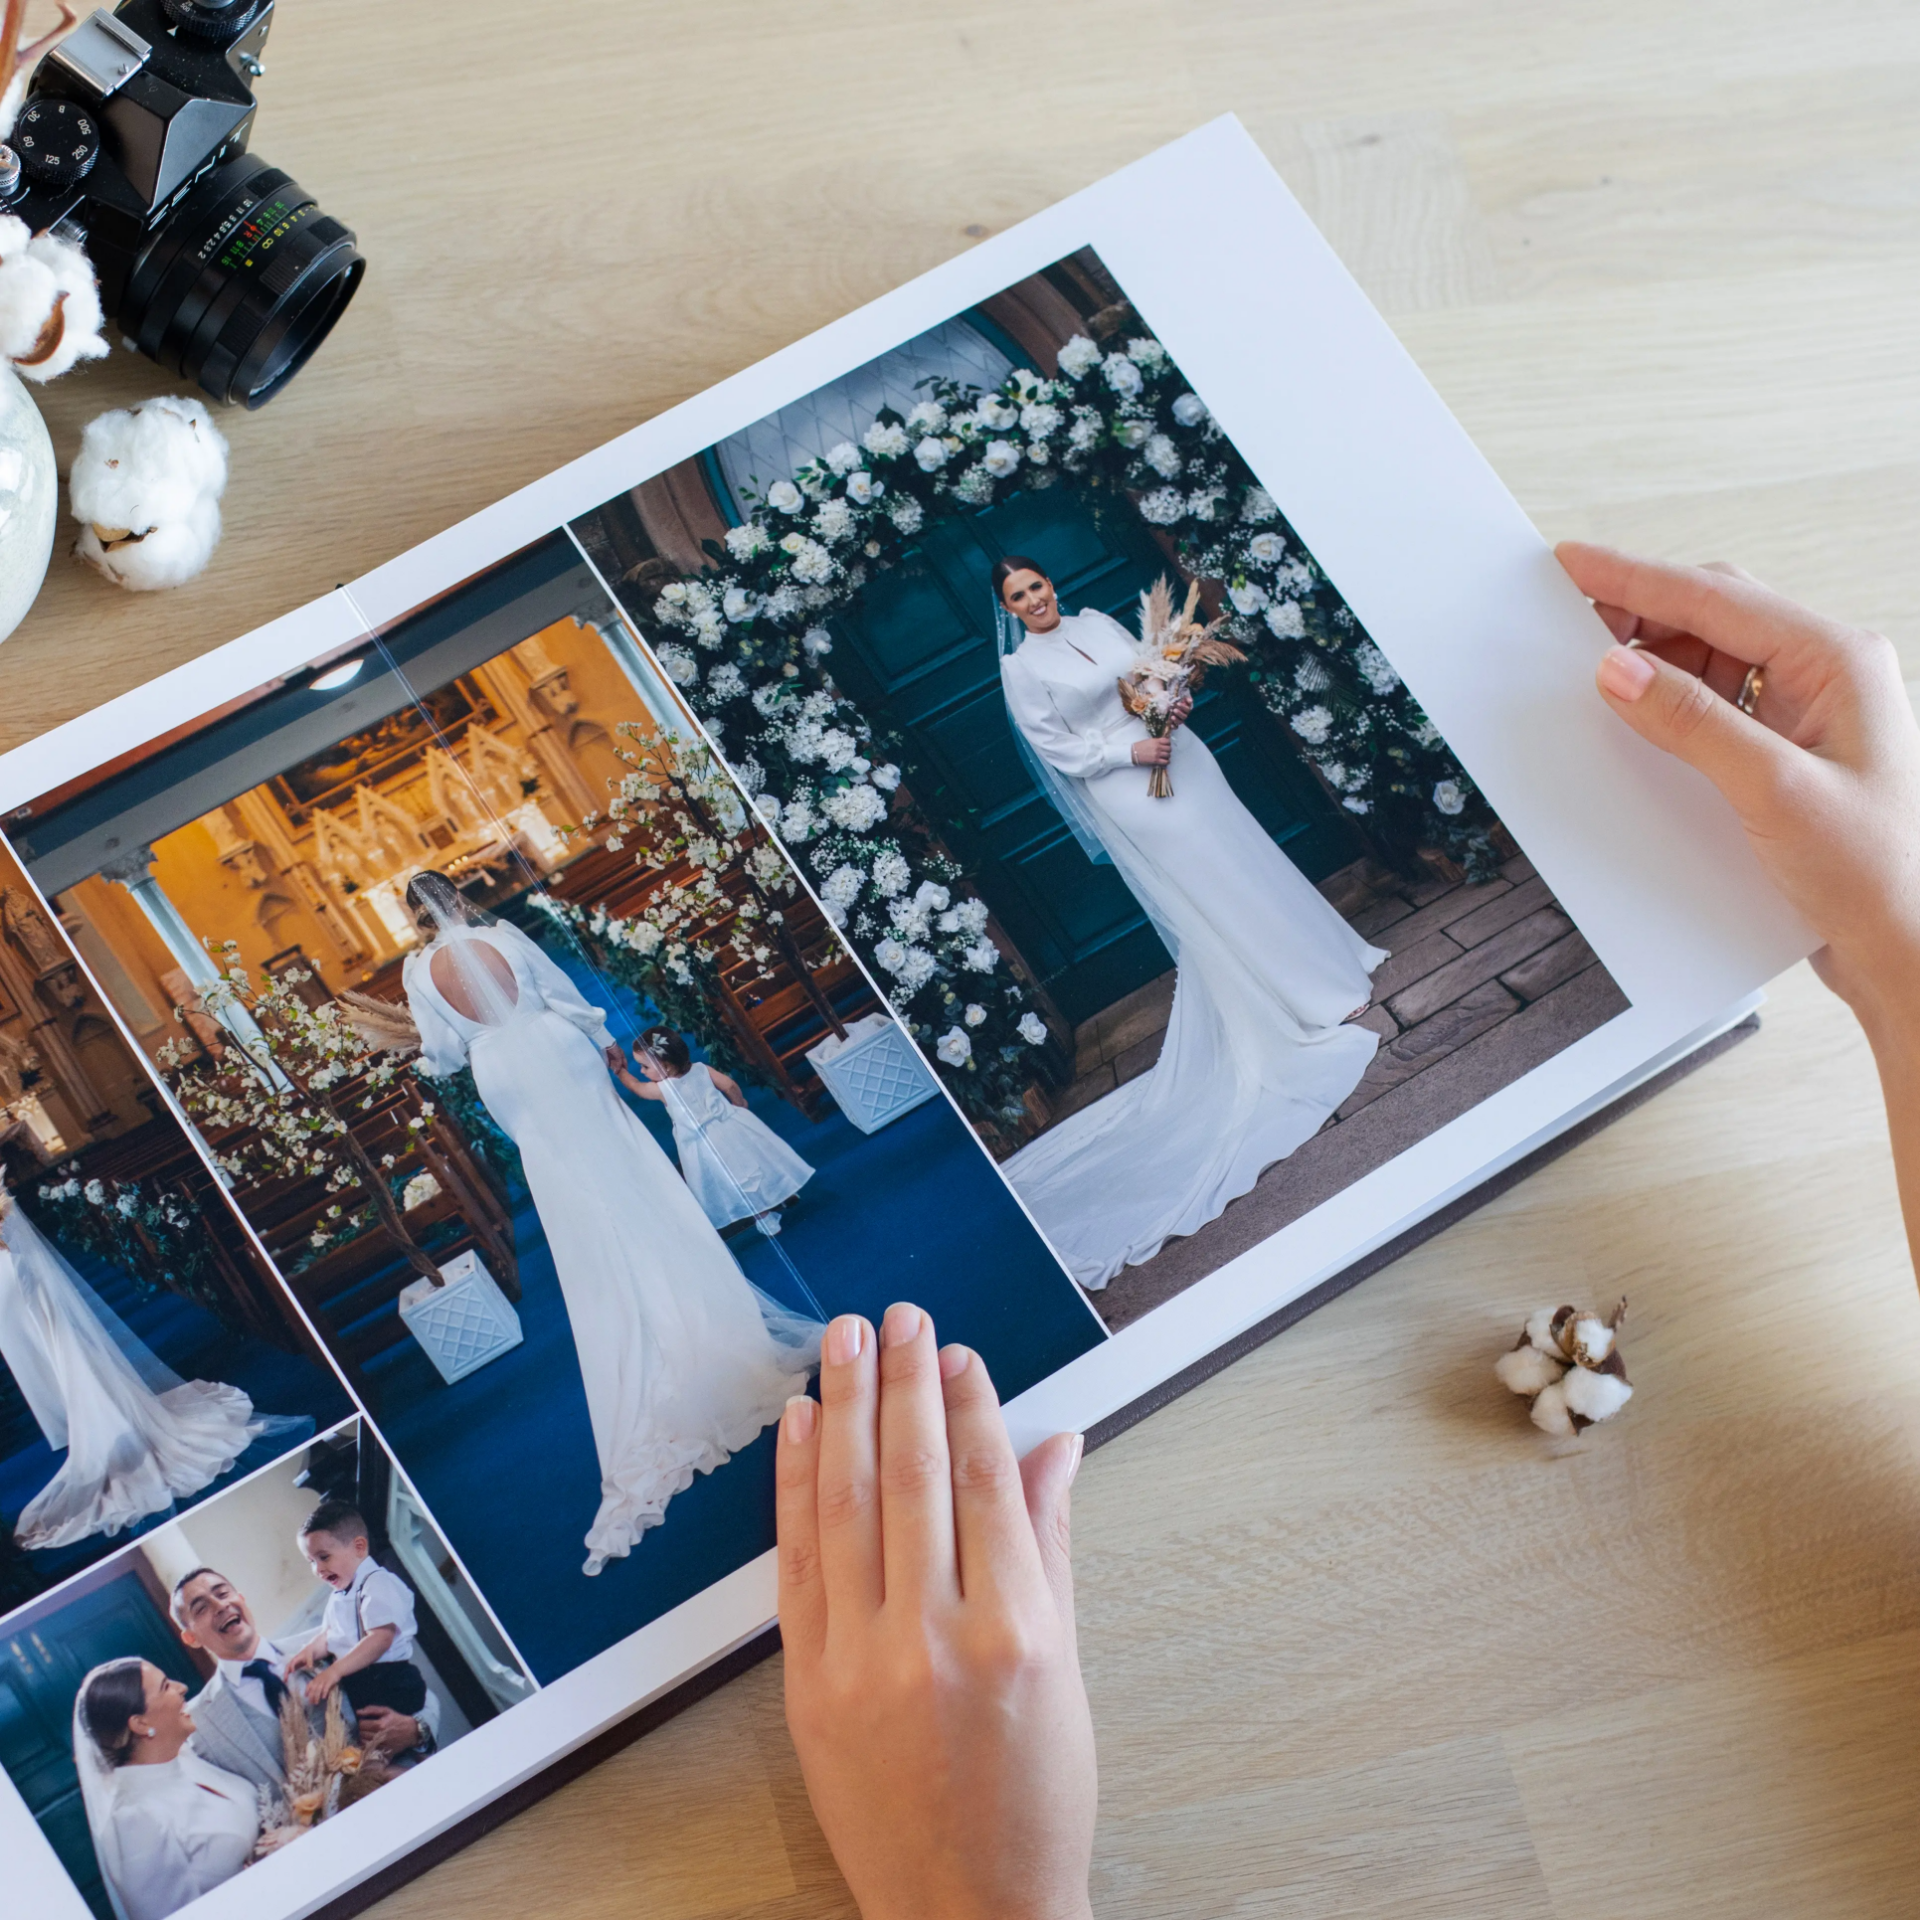
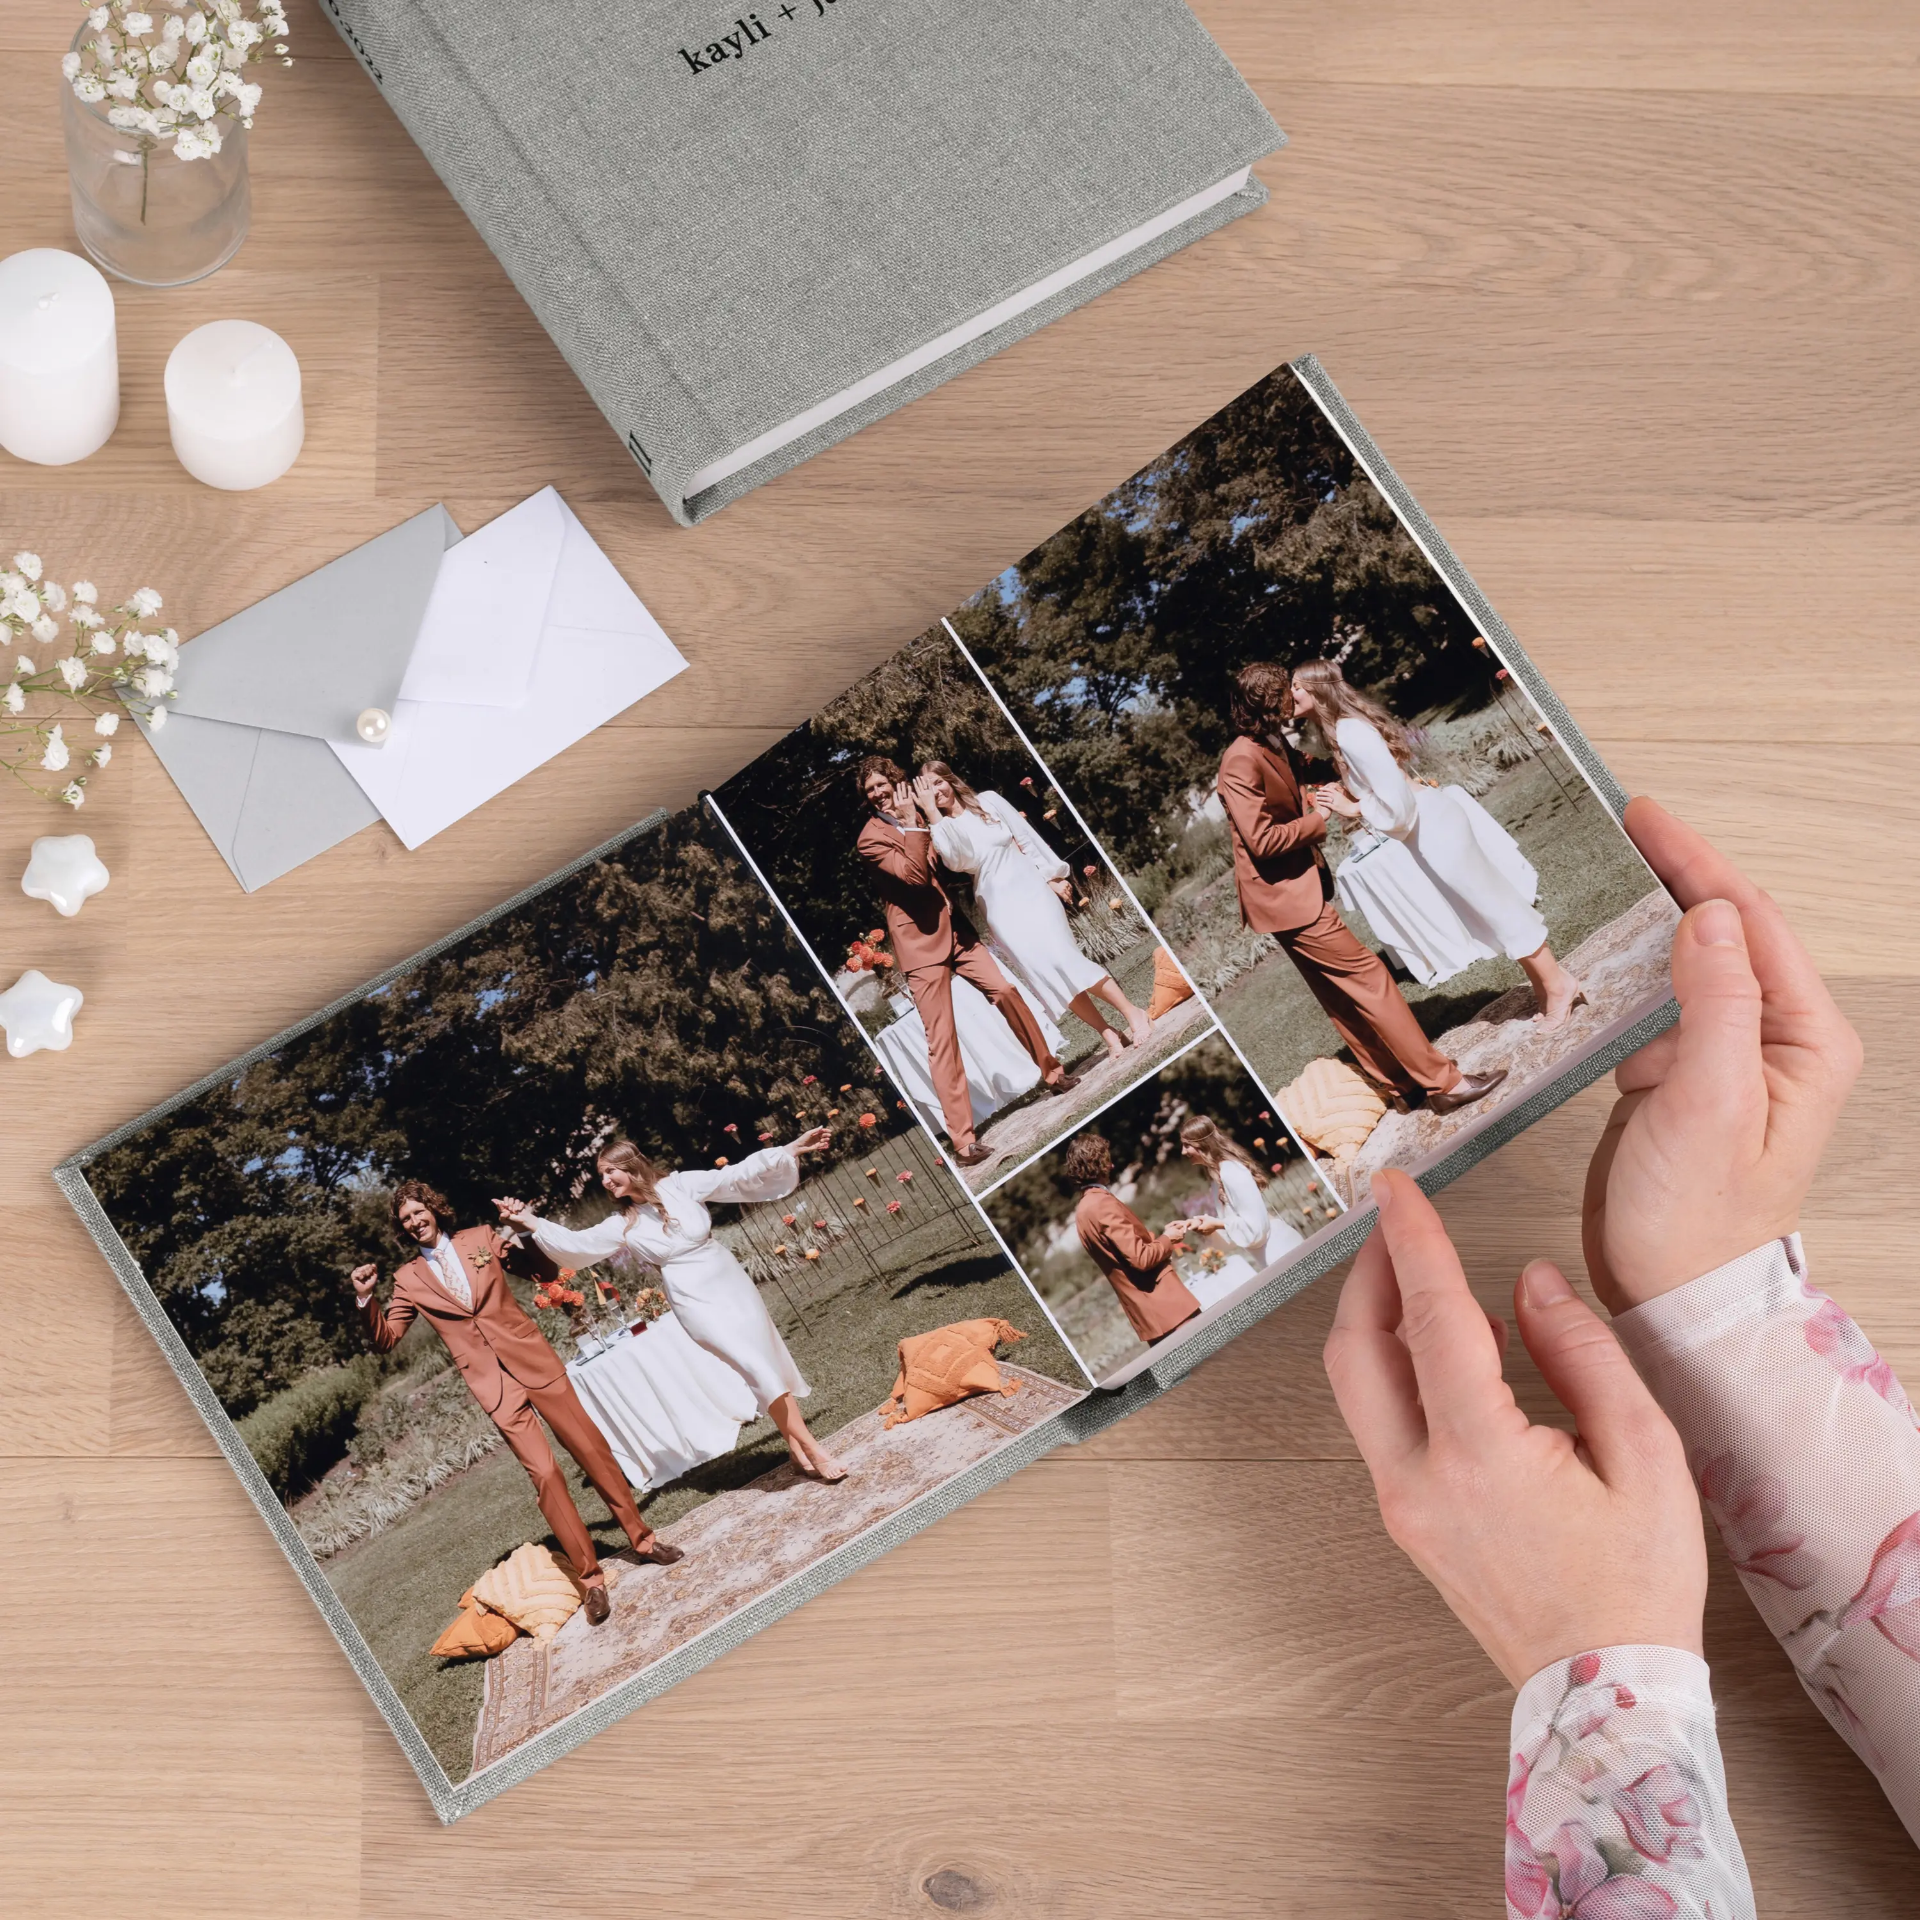
Layflat Albums – Designed for high-end, panoramic spreads where the images are printed directly onto thick pages. Perfect for those who want a professional, pre-designed album with fewer, high-impact photos.
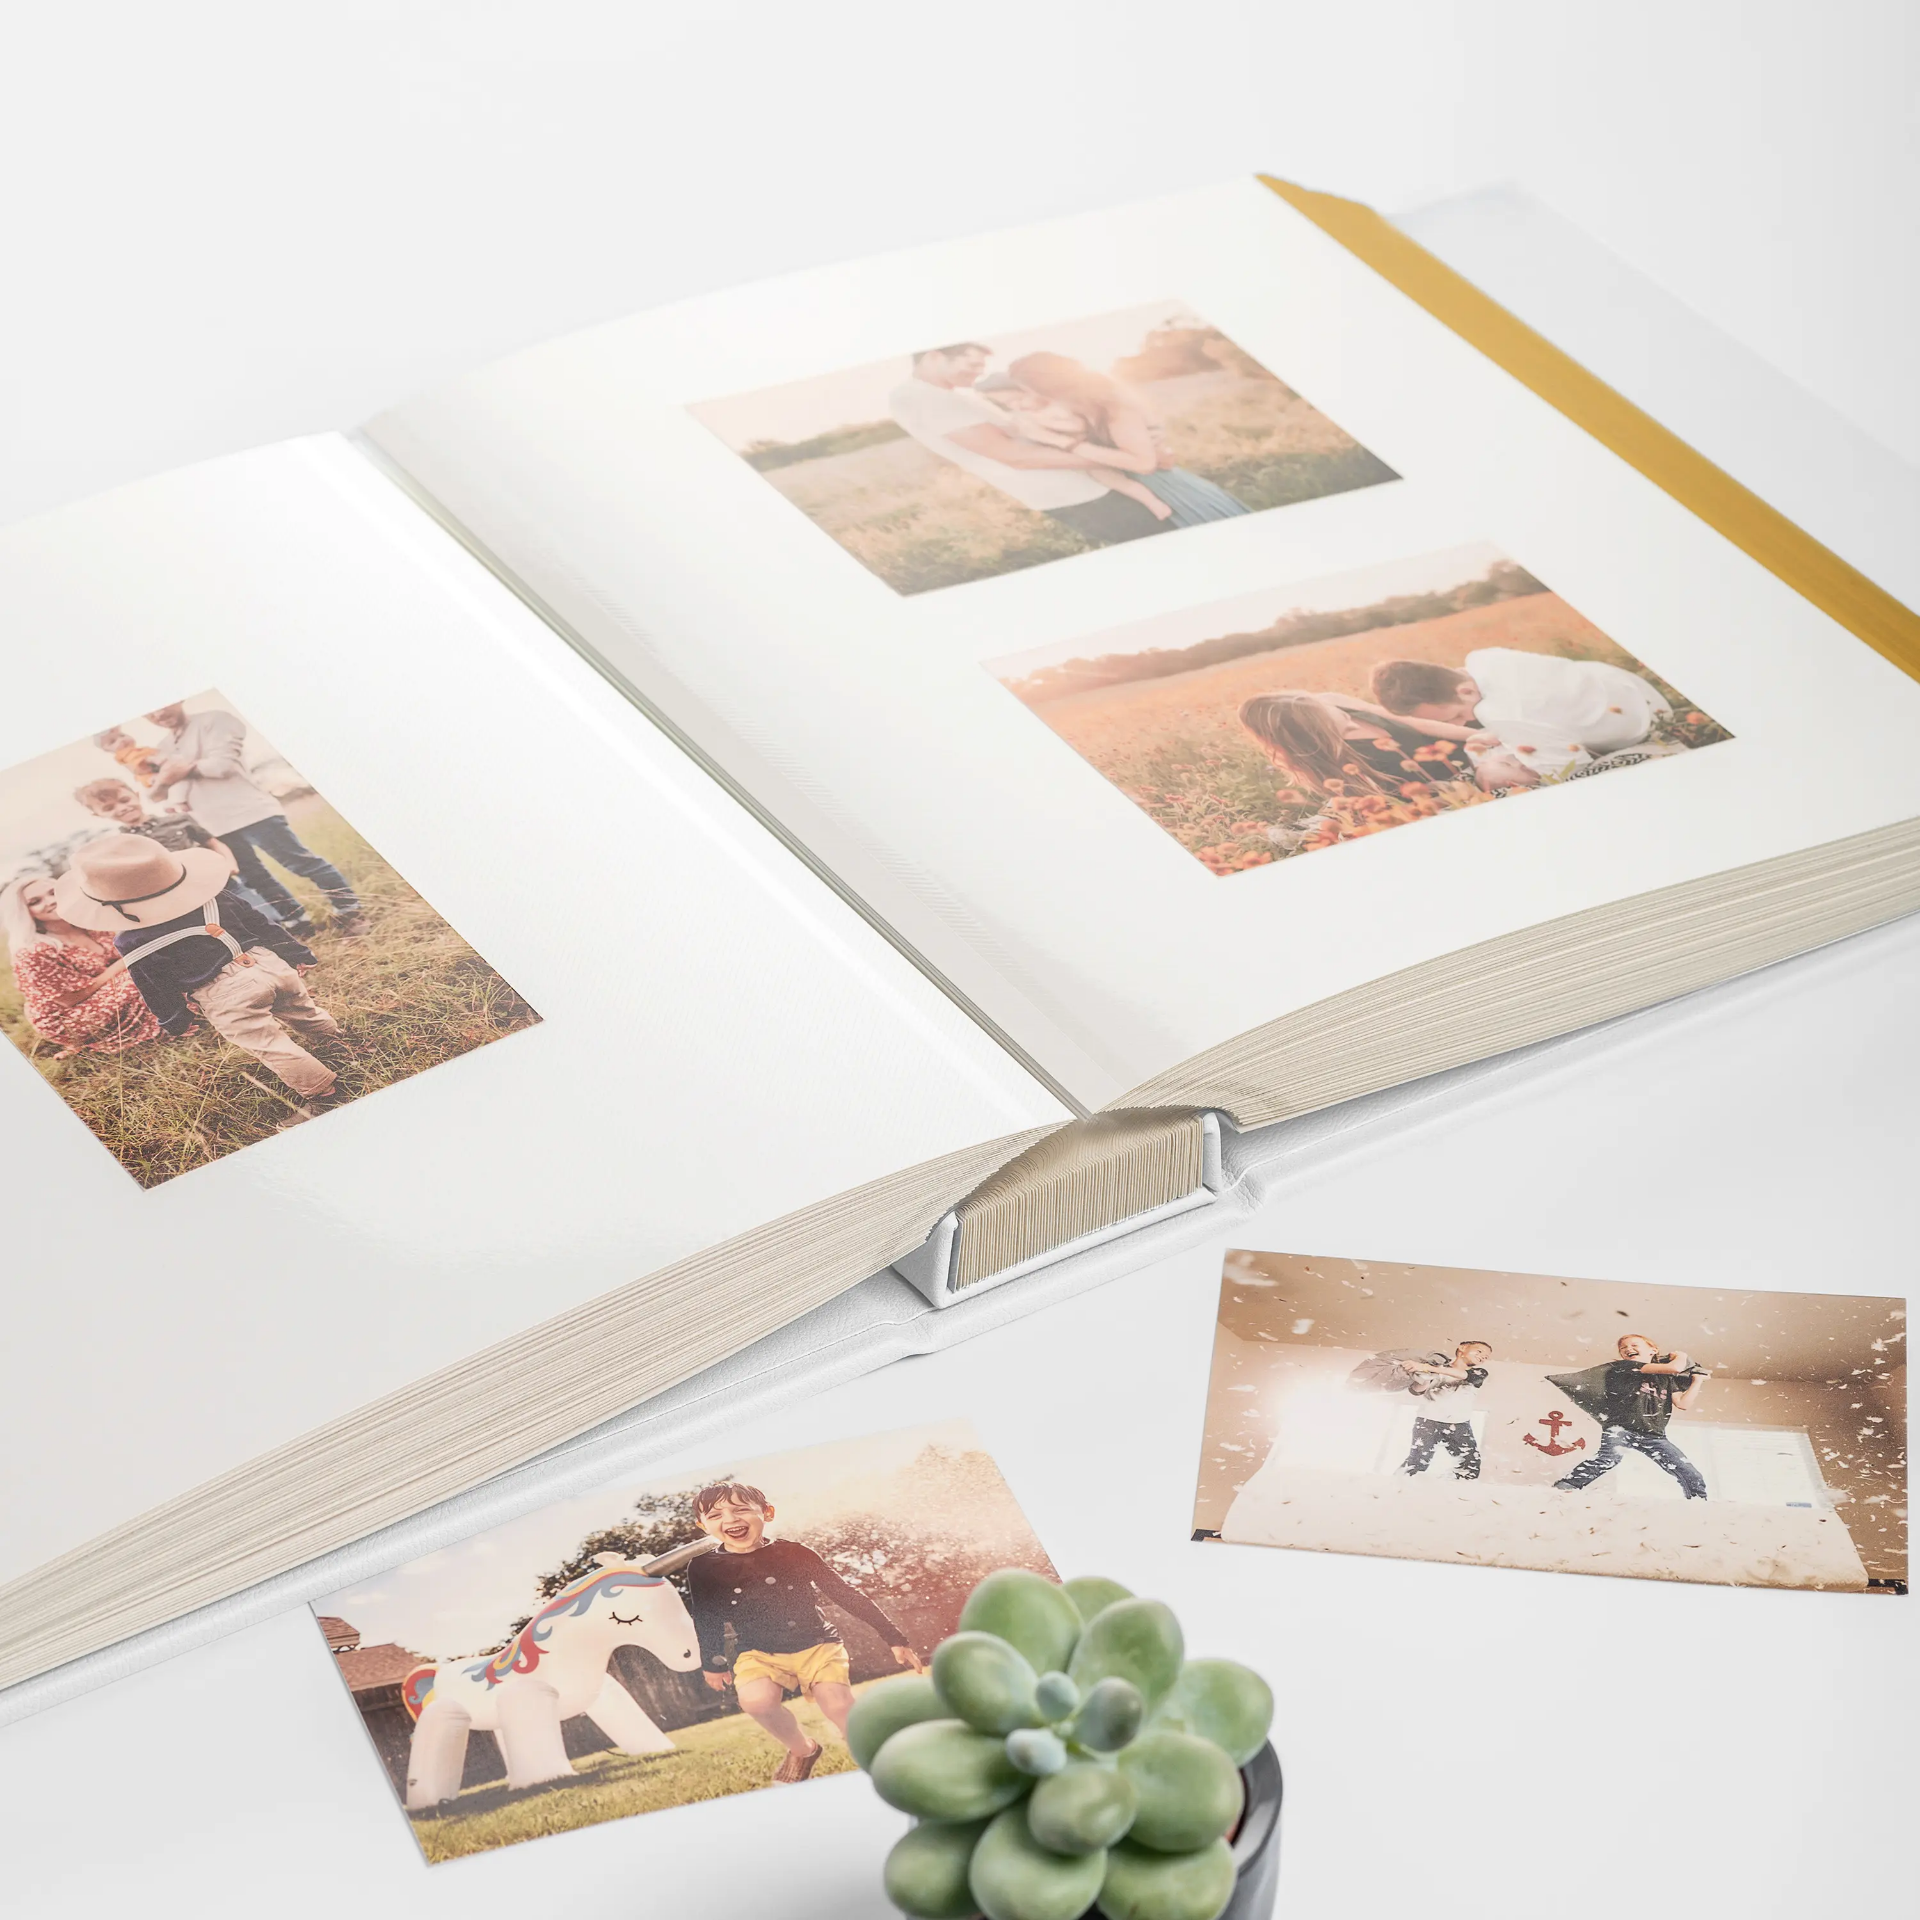
Slip-in Albums – These albums come with pre-made slots for photos, allowing you to physically place and swap images whenever needed. They can hold anywhere from 100 to 1000 photos, making them a great choice for larger collections.

Self-Adhesive Albums – Offer full creative control, allowing you to arrange and secure photos manually without pre-set slots.
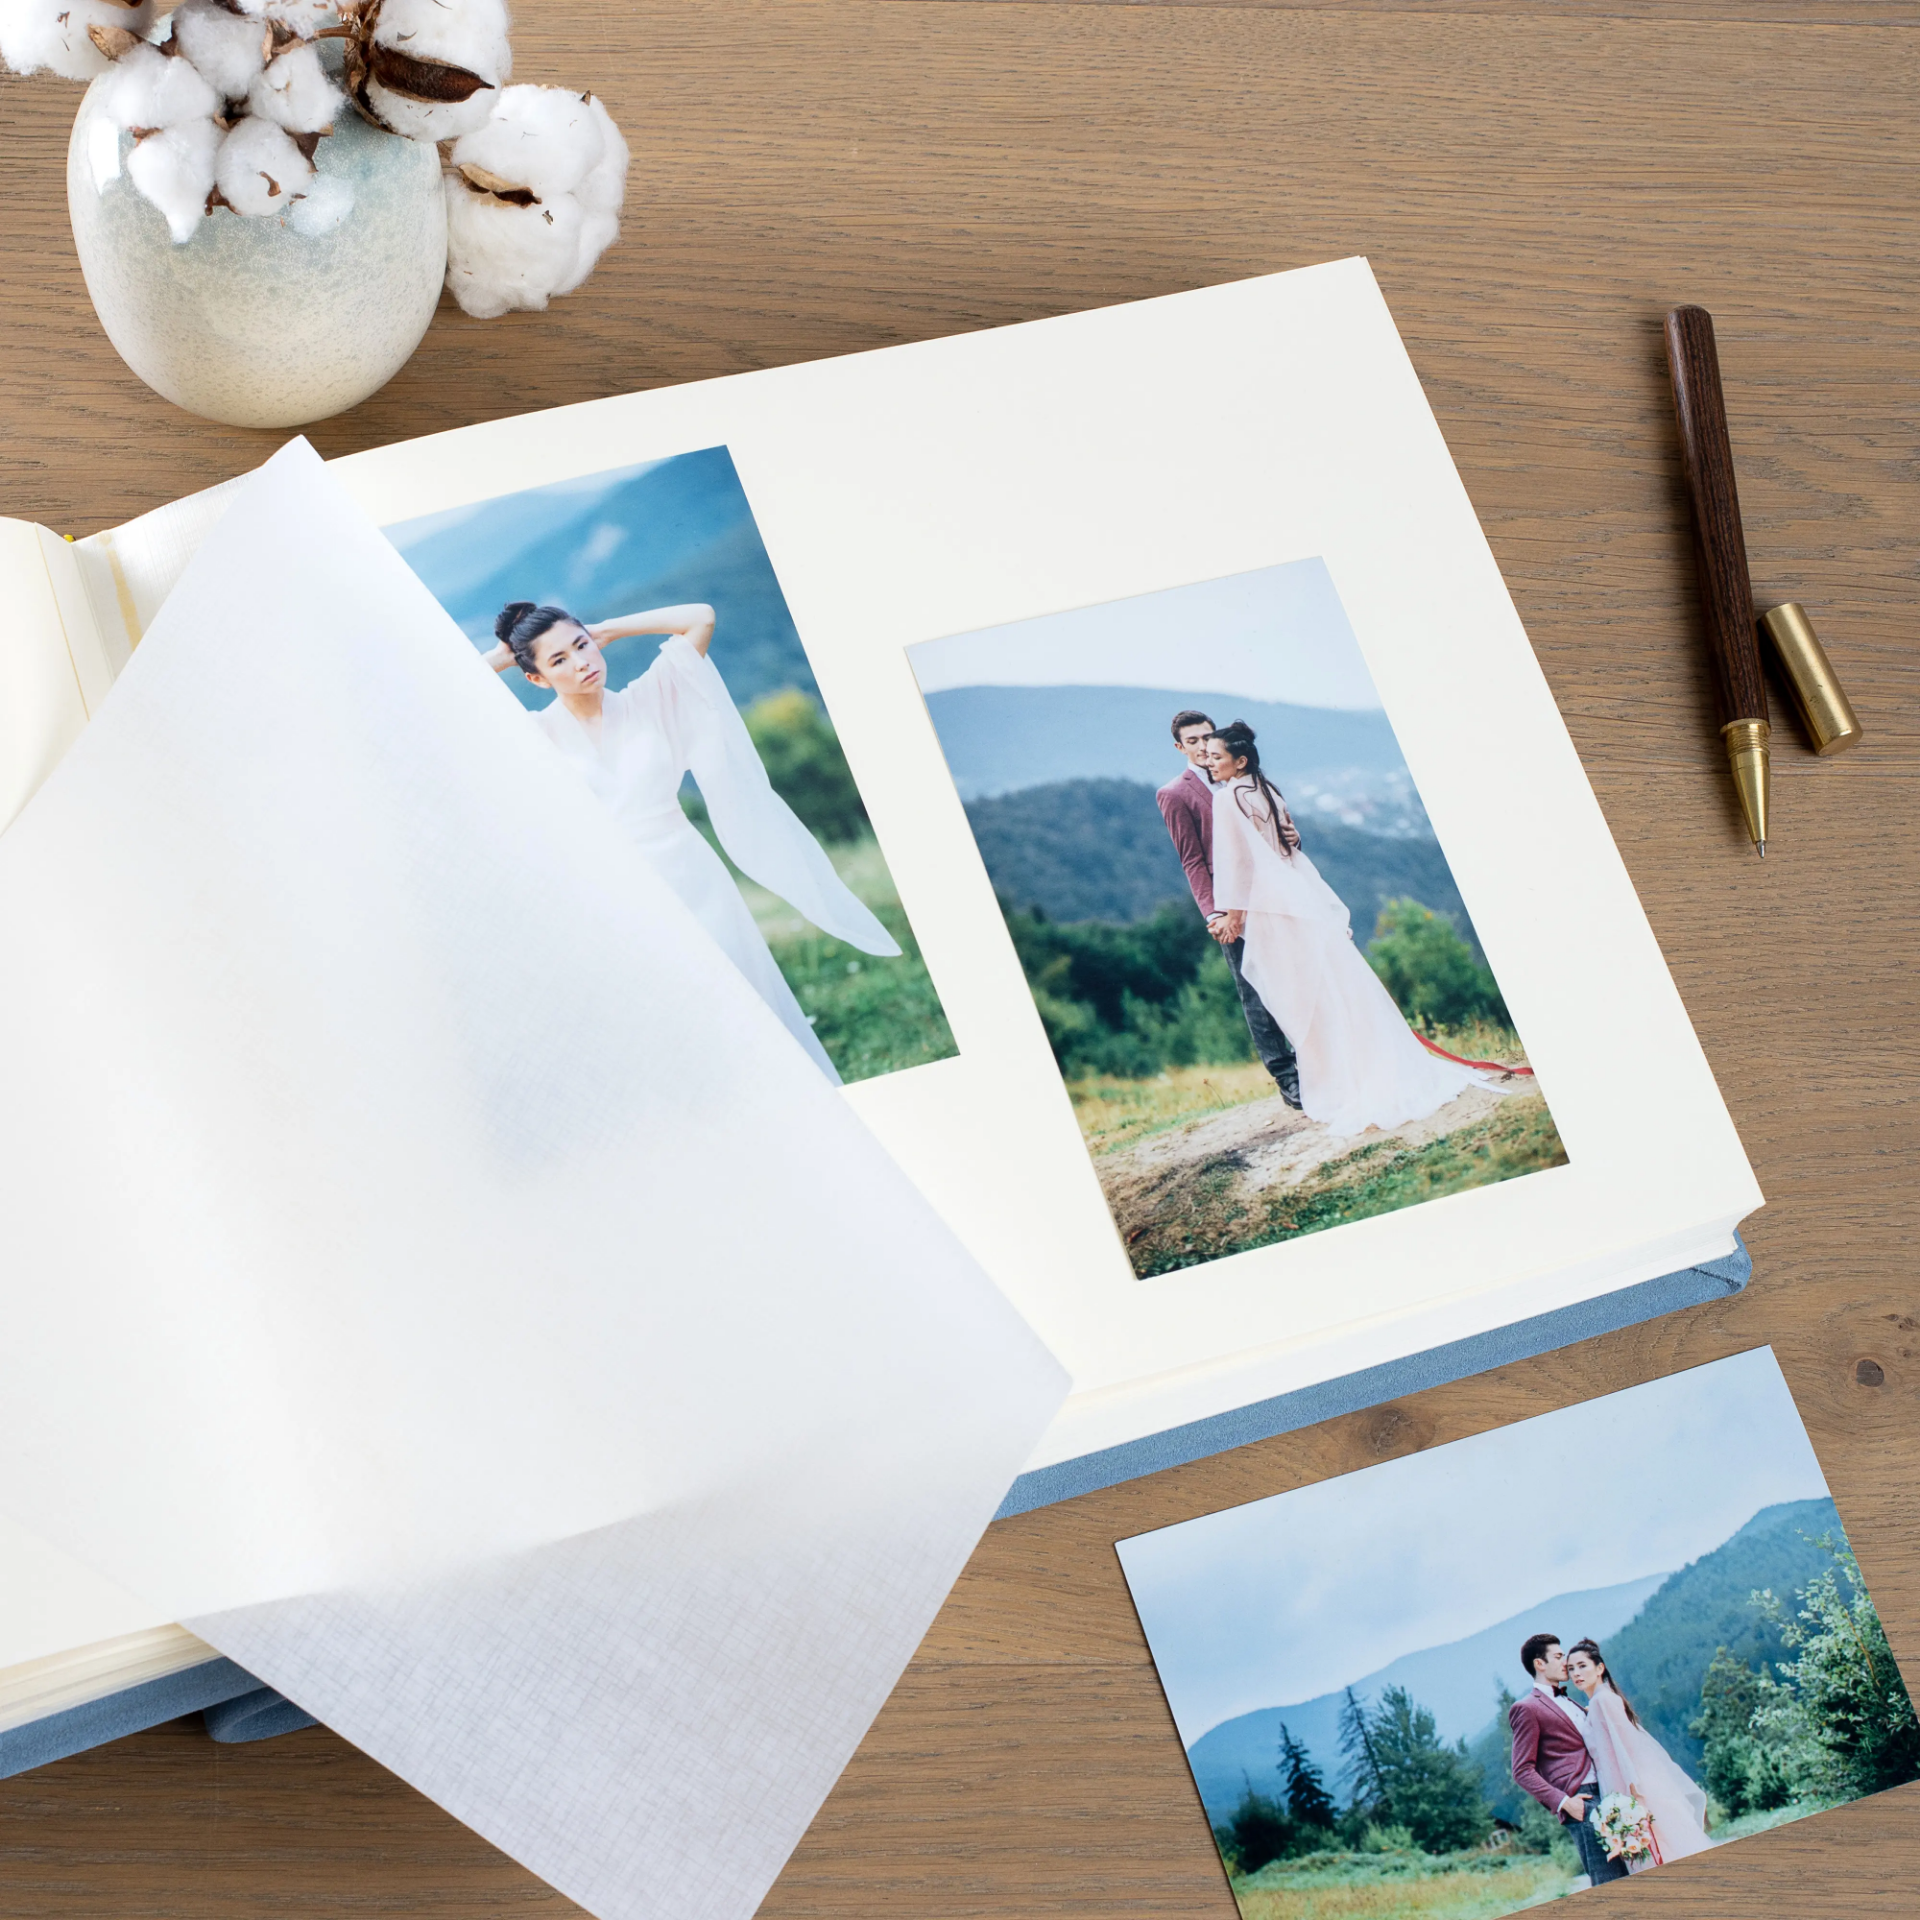
Traditional Albums – Classic and elegant, featuring mounted photos on thick pages for a timeless look.
If you prefer ArcoAlbum to arrange and print your photos into a professional book, then a Layflat album is the best choice. However, if you enjoy placing your photos manually, then Slip-in, Self-Adhesive, or Traditional albums are ideal.
Step 1: Decide How Many Photos You Need
Once you have chosen your album type, think about how many photos you want to include.
✔ For Layflat Albums: Typically, these albums contain 80-150 photos, arranged in a seamless and artistic format. You simply upload your images, and ArcoAlbum designs the layout for you.
✔ For Slip-in, Self-Adhesive, or Traditional Albums: You have more flexibility, with options ranging from 100 to 1000 photos depending on the album size and format.
By knowing how many images you need, you can make smarter choices when selecting and organizing your photos.
Step 2: Plan the Story and Structure
If you are manually placing your photos in an album, it helps to have a plan. A well-structured album should feel like a natural progression through your wedding day. Here’s an ideal sequence:
1. The Anticipation (Pre-Ceremony)
- Bride and groom getting ready
- Close-up shots of wedding rings, dress details, shoes, and accessories
- Candid moments with bridesmaids, groomsmen, and family
- Emotional first looks (if applicable)
2. The Ceremony
- Walking down the aisle
- Emotional reactions from the couple and guests
- Vows and ring exchange
- The first kiss and couple’s recessional
- Confetti toss or celebratory send-off
3. Couple & Family Portraits
- Formal portraits of the couple
- Family and bridal party group shots
- A few natural, intimate couple shots
4. The Reception & Celebration
- Venue and table décor details
- Grand entrance and first dance
- Candid guest interactions
- Toasts, cake cutting, and bouquet toss
- Fun dance floor moments
5. The Closing Chapter
- The final dance or last group shot
- Couple’s exit (sparklers, vintage car, or farewell wave)
- Any unique last moment that encapsulates the night
By structuring your album with this flow, you create a cohesive, meaningful visual story.
Step 3: Arranging Photos in Slip-in, Self-Adhesive, or Traditional Albums
If you’re placing photos manually, here are some practical tips:
✔ Group Photos by Theme or Emotion – Arrange related images together to enhance the storytelling aspect.
✔ Limit the Number of Photos Per Page – Too many pictures on one page can feel cluttered. Stick to 1-3 key images per page for a clean and elegant look.
✔ Use White Space Wisely – Leaving some empty space between images can make your album feel more polished and professional.
✔ Mix Wide Shots and Close-ups – This creates a more dynamic, engaging layout.
✔ Ensure Chronological Flow – Keeping photos in order will help maintain the natural progression of the day.
Step 4: Ordering a Layflat Album with ArcoAlbum
If you prefer a professionally designed Layflat album, ArcoAlbum makes the process simple:
✔ Upload your photos while placing the order
✔ Select the customization options (size, material, color, cover type, etc.)
✔ ArcoAlbum arranges the photos and prints the final product
Layflat albums are ideal for couples who want a high-end, hassle-free wedding album without the need to manually arrange images.
Step 5: Production & Delivery Time
Once your order is placed, here’s how long it typically takes to receive your wedding album:
📦 Standard Production & Delivery: 20 working days
🚀 Expedited Production: 10 working days
⚡ Express Production: 5 working days
These options allow you to choose a timeframe that fits your needs.
Preserve Your Wedding Memories Beautifully
Organizing a wedding album is all about telling a beautiful, cohesive story. Whether you’re selecting a Layflat album for a premium, printed experience or opting for a Slip-in, Self-Adhesive, or Traditional album for a hands-on approach, planning ahead will ensure your album is both stunning and meaningful.
➡ Order Your Perfect Wedding Album Now